
We discussed AI generated textures using DALL-E-2 before. However there have been two significant updates.
- The Dall-E-2 API is finally here!
- I figured out how to easily get from a flat texture to a full 3D one using Materialize.
The Dall-E-2 API make it infinitely easier to modify image in the way we meed to. Instead of manually doing all the image generation, we can thread it into a single python operation.
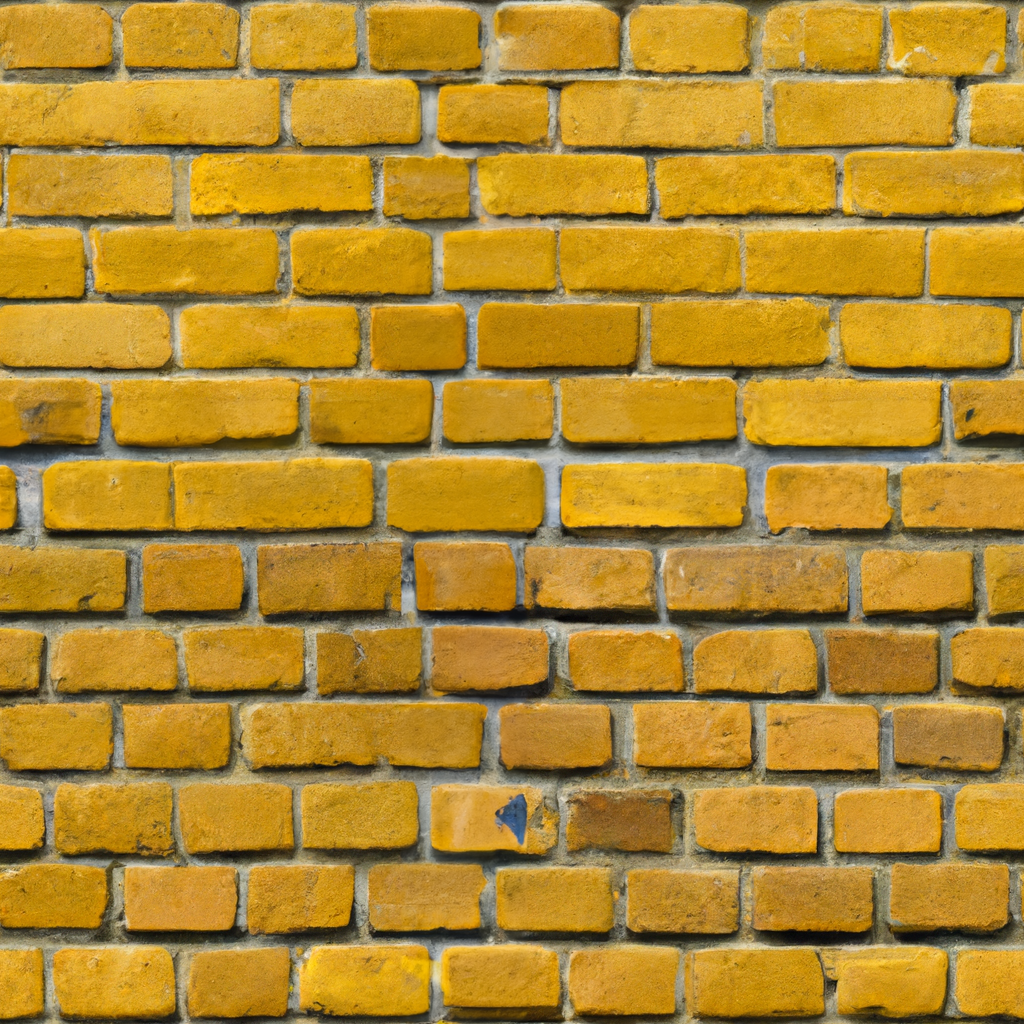
I'll show you step by step what we generate. First let's ask through the API for a texture we might want to see. In this case I'm asking for a yellow brick texture.
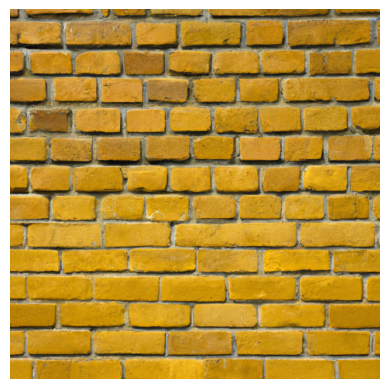
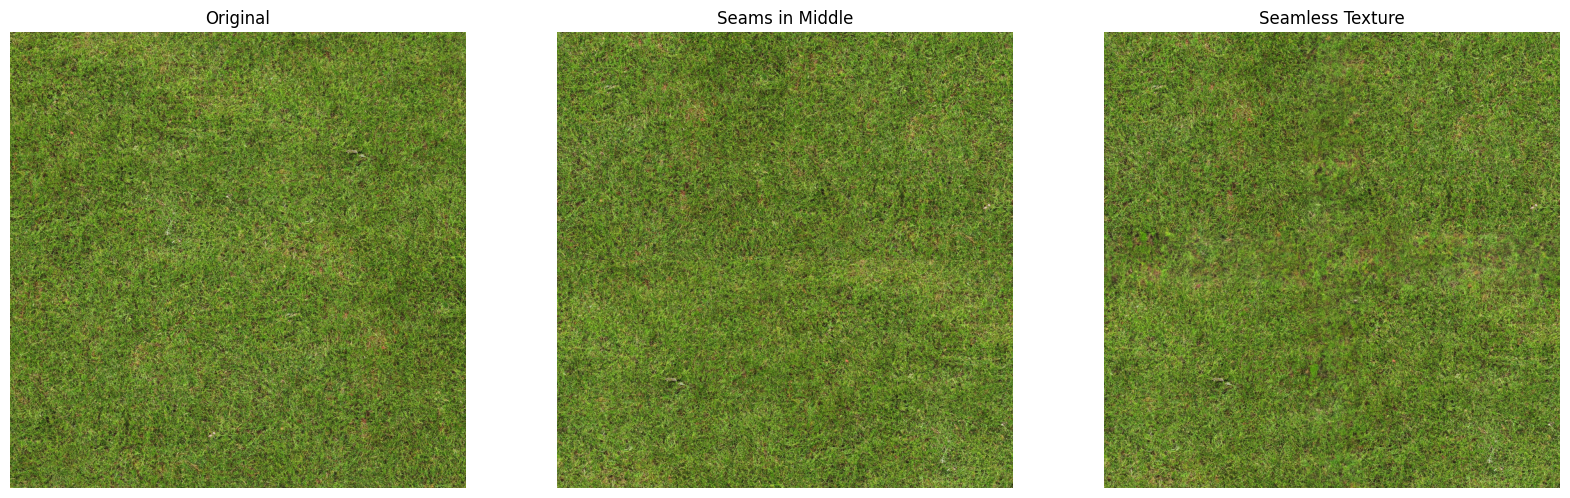
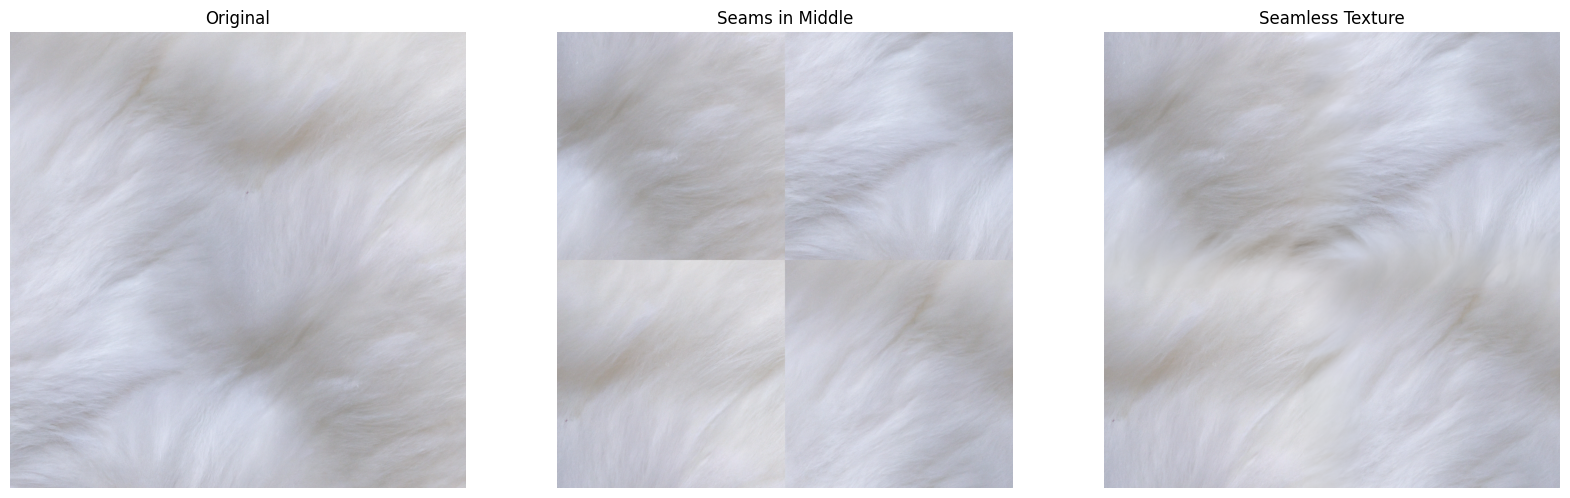
Pretty good start. The problem is if we tile this nicely over a large 3D surface, it won't look good because the edges won't match up. It 'tiles' horribly when we replicate the image many times. These always will. Let's move the 'seams' to the middle so we can see it better.
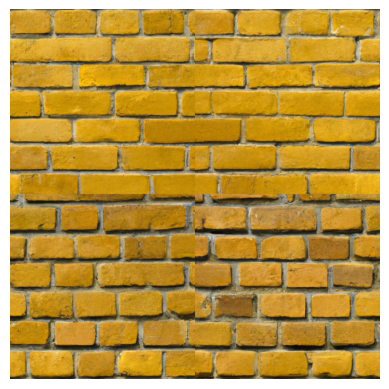
All we've done here is move the outside in, by chopping the image into 4 and swapping the positions. Now we can see the seam in the middle as if we were looking at 4 tiled images. It's not the worst seam ever, DALL-E-2 has done a very good job, but we can easily tell it's not right.
The next step we can do is to create an alpha mask on this image as we know where the seam is, it's in a nice cross shape in the centre.
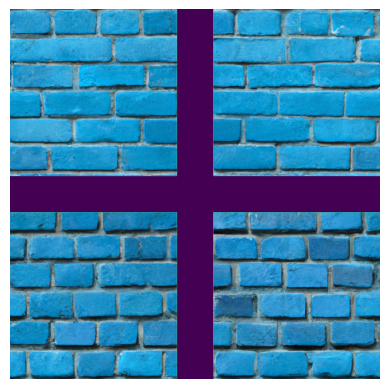
This is a representation of the mask, with areas to keep showing through (in blue_ and areas to re-do in purple. So what can we do with this? Well the great thing about the DALL-E-2 API, is that we can also edit images. Sending the original image with the seams in the middle off with this mask and the original prompt will allow us to regenerate the seam area for hopefully a lovely smooth transition.
And there we have it. You can clearly see some new artefacts like the blue smudge on the brick in the middle, where the mask was. DALL-E-2 has regenerated the gaps we marked out, so now the image is pretty much seamless and tile-able. Great!
Let's make it 3D
For this to really be useable it doesn't just need to be seamless, it needs to have depth, roughness, metallic layers. All sorts of additional information about how light would interact with this texture in the real world, so we can better simulate it in a render engine. I previously thought this would be a manual and labour intensive process until i found Materialzie from Bounding Box Software. This FREE tool takes 2D flat textures from a photo, or in our case AI, and makes them pop by generating the other information we need.
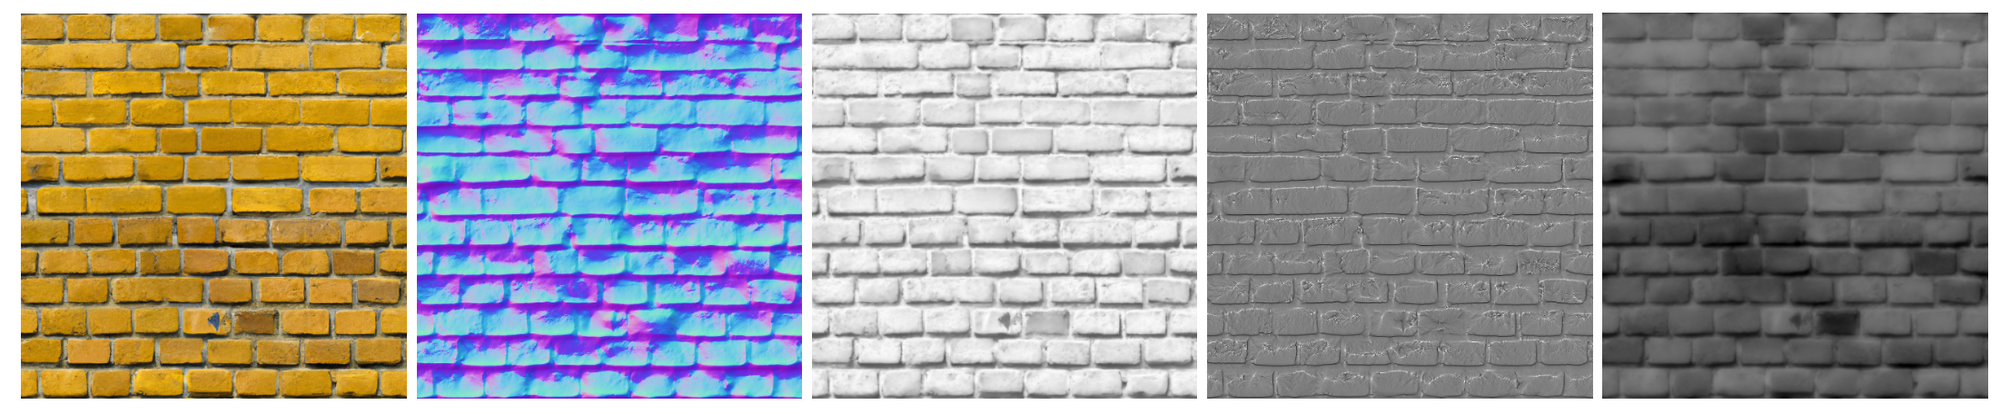
This is a huge improvement on our flat tile-able image. Let's have a look at what that looks like rendered.
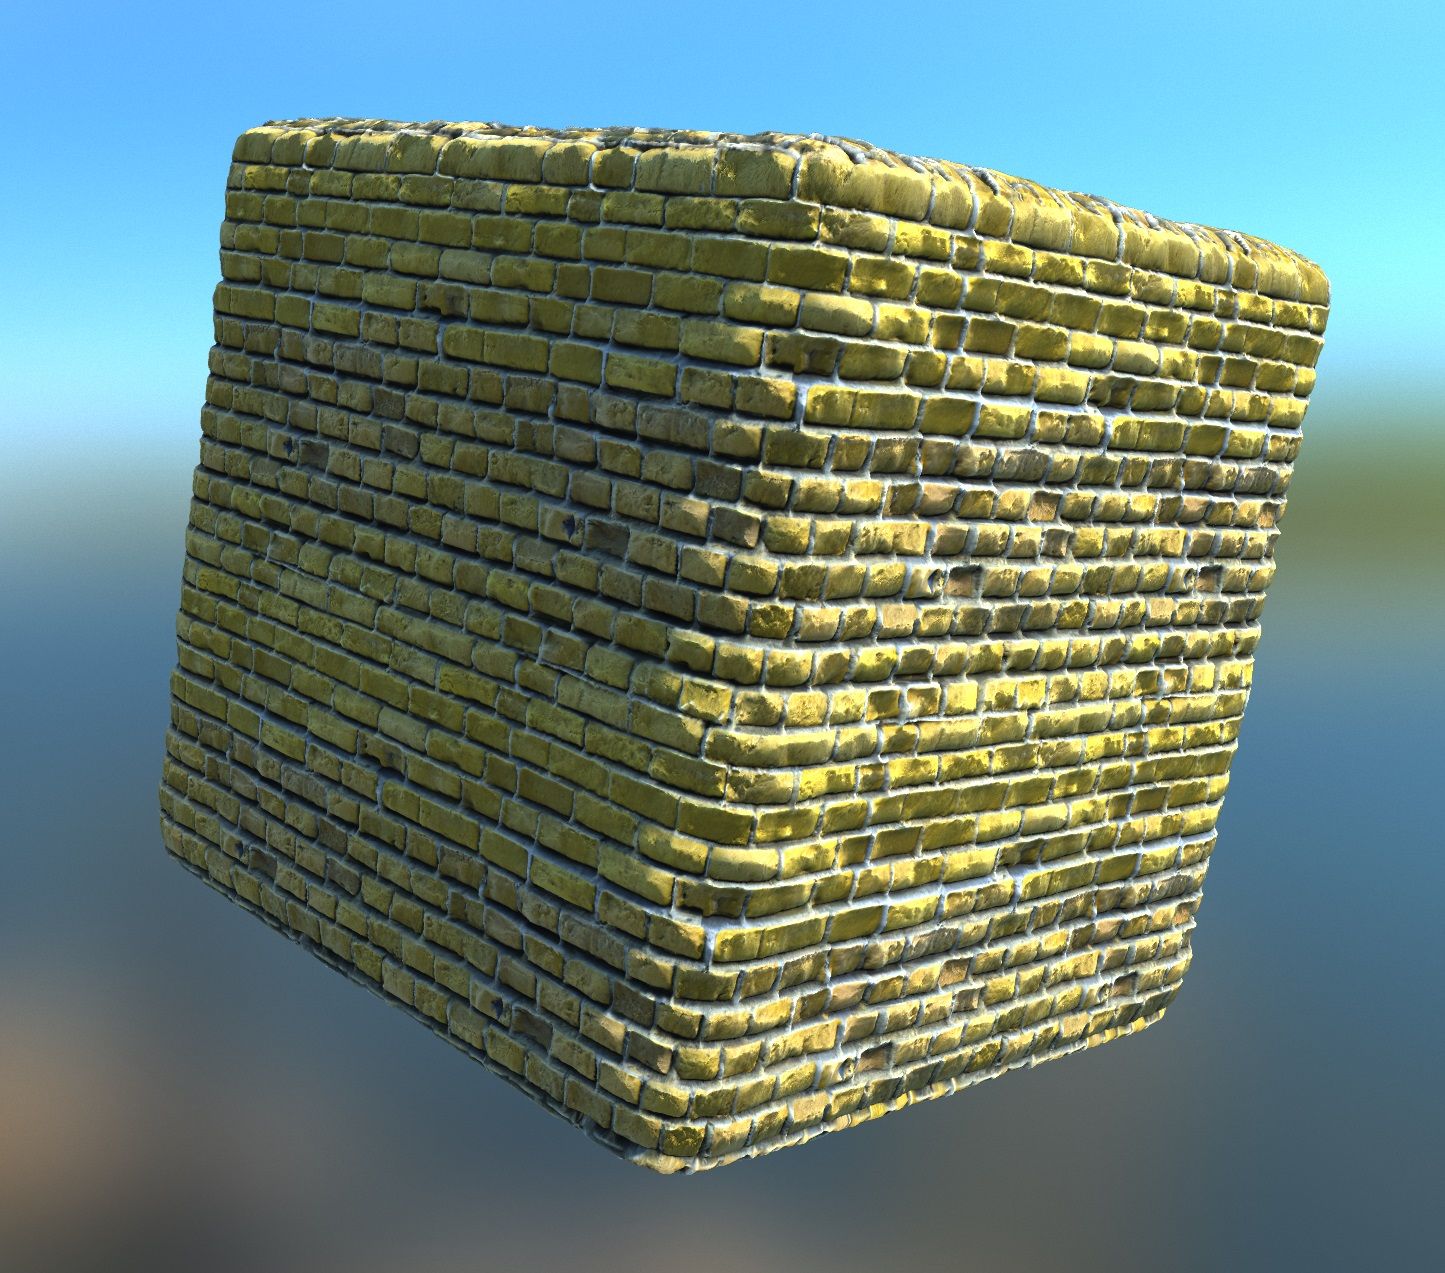
And there we go! A now usable seamless 3D texture, completely AI generated. This opens up a word of opportunities for amazing new on-demand texture rendering!
Here's some more example outputs just for fun:
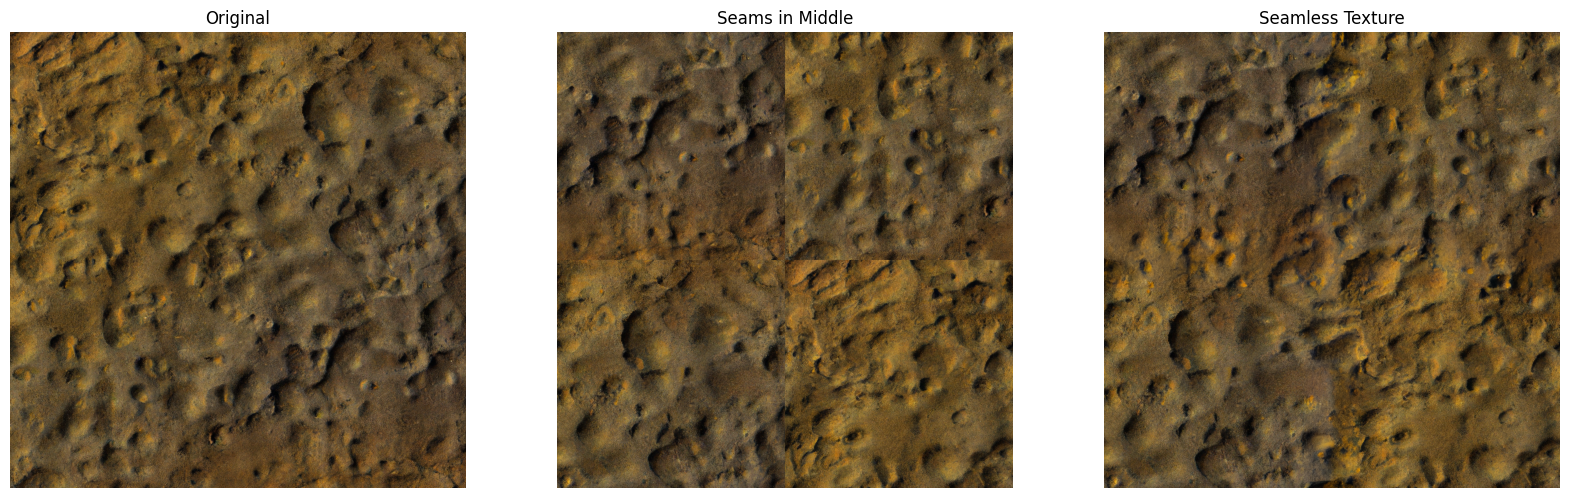
Notice we may want to do some colour stabilisation accross the segments on these in the future.
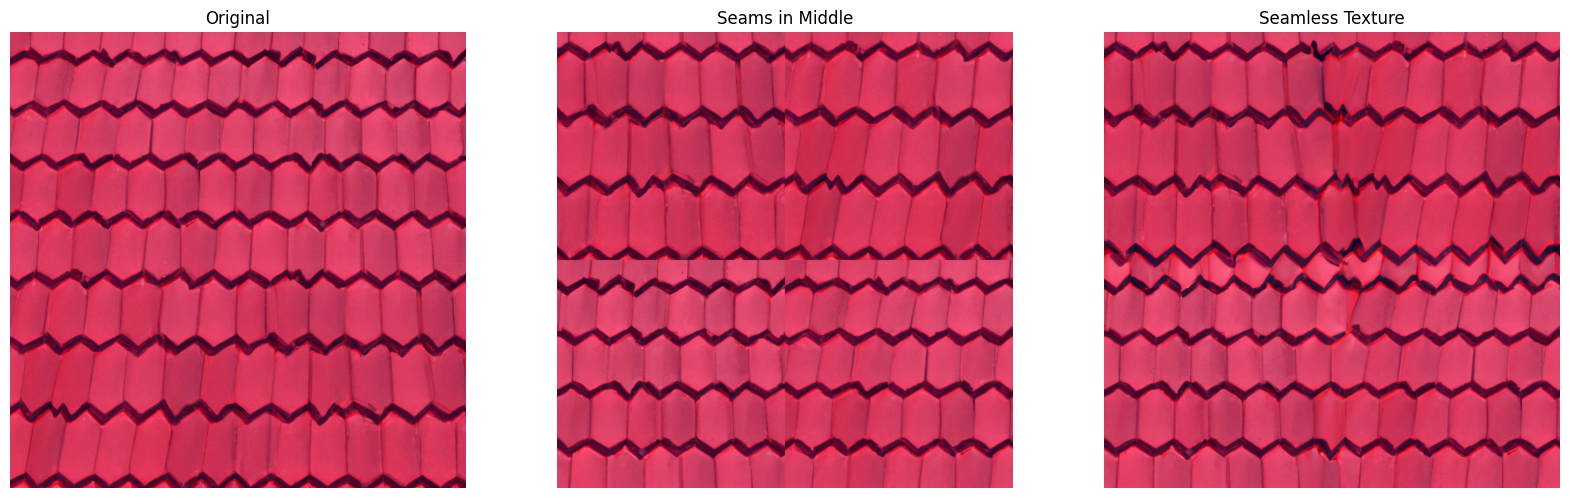
A good example of how things with regular patterns or directionality can go very wrong very quickly...